HowTo:
Replace Your Instrument Panel
Disclaimer: I (the author) am in no way responsible for what you do to your vehicle. This web page
is in no way affiliated with Daimler-Chrysler. All opinions, technical information, or
otherwise are to be taken as is and at your own risk. That said, let's get started!
-
To get the black bezel (the curved thing above the instrument cluster)
off, unscrew some of the screws on the bottom of it (it doesn't hurt to
unscrew all of them, once you get it off you'll see that you don't need to
unscrew them all), sorry I don't remember exactly which ones to leave, I
believe there are three. Then, behind the bezel, there should be a
rectangular thing that looks like a vent, it has curved corners, it pops up.
Just use a short, very thin flathead screw driver and work it all the way
around. Be careful, as it is not very thick, and could probably break
easily. Under that vent thing, there are two more screws to take out, that
hold in the bezel. Then the black bezel thing just pulls straight out
toward the back of the vehicle.
-
Once you have the bezel off, it's cake from there. There should be 4
screws holding the I.C. (inst. clust.) down, make sure you have the right
ones. The first time I took it out, I was taking off the clear plastic
sheild, you want the screws behind those ones (they are on a white backing).
After you get those out, the I.C. just pulls out and there are two plugs, a
red one and a black one. The cords are long enough so you can pull the I.C.
out enough to unplug it. Bring the I.C. inside.
NOTE 1: I don't know if it affects the operation of the gauge, but I was
very careful not to move the needles on any of the gauges, as changing any
of them might have altered the reading. Just keep that in mind.
NOTE 2: My original I.C. did not have a circuit board on the corner by the
red plug, however the new one that I got did... it was a small circuit board
with an edge connector, it just slipped on that white edge. I am not sure
what this is for, I assumed it was for ABS but I left it on there anyway
just incase it was for something else.

This is the I.C. once you seperate it from the car.

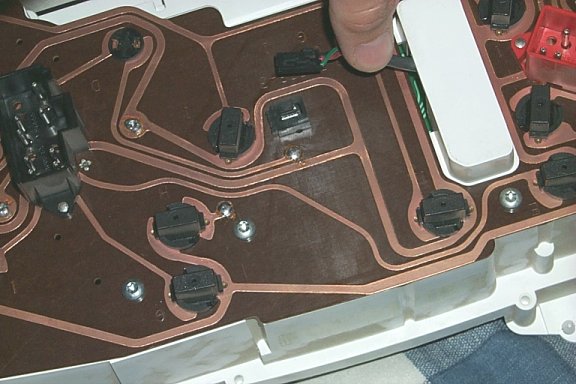
Here's the back.
-
To take apart the I.C. so that you can swap the speedometer, you'll need
a torx screw driver, the size is T-25 or something close to that. There is
a couple of ways to do this:
-
The way I did it, taking off the back:
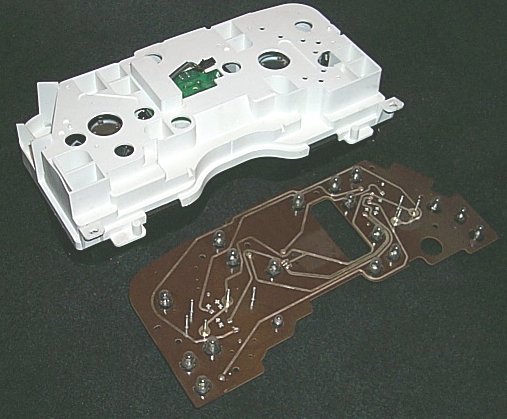
First, flip the I.C. over and take off the 7 screws on the back and
unplug the speedometer plug in the middle (if you have the circuit board in
the corner remove that too). Then, pull straight up on the circuit board
while holding the plug up. It's a bit tight, because of the metal prong
thingies and lights but it just pulls right off. Now continue with "b. the
other way."

This is the I.C. after you remove the circuit board.

This is the speedometer plug, make sure it is the same on your vehicle as the one you will be installing.
-
The other way, leaving the back on:
Take off the 6 screws holding on the clear sheild, and then unscrew all
the screws holding down each G.C. (gauge cluster). There are three screws
holding each side cluster and the middle interlocks with the side ones. If
you took off the back circuit board pulling the G.C. out will be a snap,
otherwise you'll have to pull them off the metal prongs. No biggie. Now,
having done all this with the new I.C. you can just swap the speedo and your
all set. Put it all back together and stick it in the car, installation is
the opposite of removal.

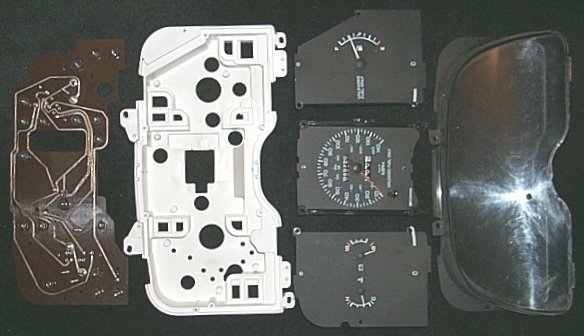
Now you should be able to seperate everything, see like this!
The end, now you have a Tach and Oil Pressure gauge!
I hope this helps any of you who attempt it. Good luck!
Oh, and if you have any questions just E-Mail me.
This page has been hit 43 times since January 22, 2001.


